
Your Guide to Crafting Delicious Sourdough at Home
- Ashley Bowen bread
- Jan 25
- 4 min read

Sourdough bread has gained immense popularity in recent years, and for good reason. Its unique flavor, chewy texture, and the satisfaction of making it from scratch make it a favorite among home bakers. If you’ve ever wanted to learn how to make this delightful bread, you’re in the right place. This guide will take you through the entire process, from creating your own sourdough starter to baking your first loaf.

Understanding Sourdough
What is Sourdough?
Sourdough is a type of bread made through the fermentation of dough using naturally occurring lactobacilli and yeast. Unlike commercial bread, which uses store-bought yeast, sourdough relies on wild yeast and bacteria present in the environment. This fermentation process not only gives sourdough its distinctive tangy flavor but also contributes to its unique texture.
The Benefits of Sourdough
Flavor: The fermentation process enhances the flavor profile, making it richer and more complex.
Digestibility: The natural fermentation breaks down gluten, making it easier for some people to digest.
Nutritional Value: Sourdough may have a lower glycemic index compared to regular bread, which can be beneficial for blood sugar control.
Longevity: The acidity in sourdough helps preserve the bread, keeping it fresh longer.
Getting Started with Sourdough
Creating Your Sourdough Starter
A sourdough starter is a mixture of flour and water that captures wild yeast and bacteria from the environment. Here’s how to create your own:
Ingredients
100g all-purpose flour
100g water (room temperature)
Instructions
Day 1: In a clean glass jar, mix 100g of flour with 100g of water. Stir until there are no dry bits. Cover loosely with a lid or cloth and let it sit at room temperature for 24 hours.
Day 2: You may not see much activity yet. Discard half of the mixture and add another 100g of flour and 100g of water. Stir and cover again.
Days 3-7: Continue the feeding process every 24 hours. You should start to see bubbles forming, and the mixture will begin to rise. By day 7, your starter should be bubbly and have a pleasant, slightly sour smell.
Maintaining Your Starter
Once your starter is active, you can keep it in the refrigerator and feed it once a week. If you plan to bake regularly, keep it at room temperature and feed it daily.
Baking Your First Sourdough Loaf
Ingredients for the Dough
500g bread flour
350g water (room temperature)
100g active sourdough starter
10g salt
Instructions
Mixing the Dough: In a large bowl, combine the flour and water. Mix until no dry flour remains. Let it rest for 30 minutes (this is called autolyse).
Adding the Starter and Salt: Add the active sourdough starter and salt to the dough. Mix until fully incorporated.
Bulk Fermentation: Cover the bowl with a damp cloth and let it rise at room temperature for 4-6 hours. During this time, perform stretch and folds every 30 minutes for the first 2 hours. This helps develop gluten.
Shaping the Dough: Once the dough has doubled in size, turn it out onto a lightly floured surface. Shape it into a round loaf by folding the edges toward the center.
Final Proofing: Place the shaped dough into a well-floured proofing basket. Cover and let it rise for another 2-4 hours at room temperature or overnight in the refrigerator.
Baking the Bread
Preheat the Oven: Preheat your oven to 450°F (232°C) with a Dutch oven inside for at least 30 minutes.
Scoring the Loaf: Carefully remove the hot Dutch oven from the oven. Turn the dough out onto a piece of parchment paper and score the top with a sharp knife or razor blade.
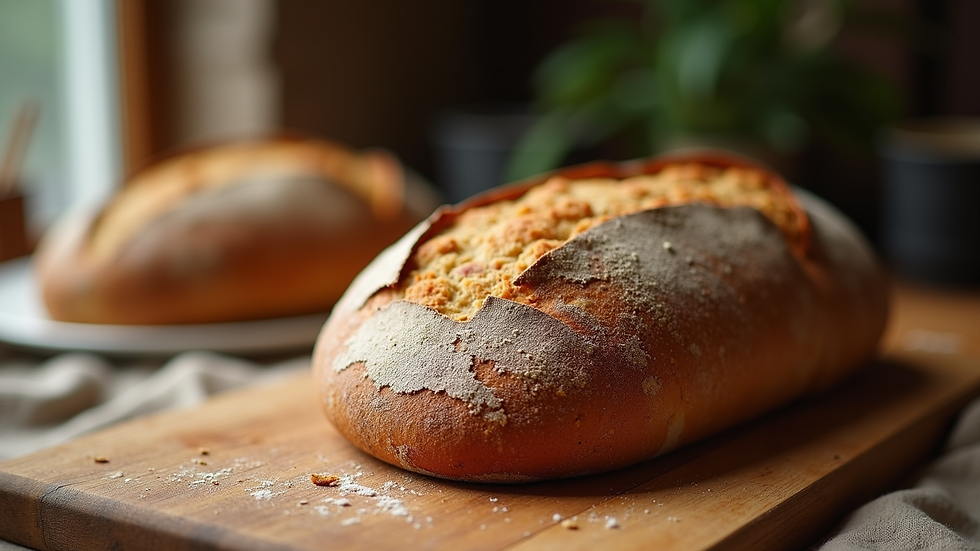
Baking: Place the dough (with the parchment) into the Dutch oven, cover it, and bake for 30 minutes. Remove the lid and bake for an additional 15-20 minutes until the crust is deep golden brown.
Cooling: Let the bread cool on a wire rack for at least an hour before slicing. This allows the interior to set properly.
Troubleshooting Common Issues
Dense Bread
If your sourdough is dense, it may be due to insufficient fermentation or not enough gluten development. Ensure you are allowing enough time for bulk fermentation and perform stretch and folds to strengthen the dough.
Flat Loaf
A flat loaf can result from over-proofing or under-proofing. Keep an eye on your dough during the final proof and aim for a dough that has risen but is not overly puffy.
Sour Flavor
If your bread is too sour, it might be due to a very active starter or long fermentation times. Try reducing the fermentation time or feeding your starter more frequently.
Tips for Perfect Sourdough
Use Quality Ingredients: High-quality flour and filtered water can make a significant difference in the flavor and texture of your bread.
Be Patient: Sourdough baking is a process that requires time and practice. Don’t rush it.
Experiment: Once you’re comfortable with the basic recipe, try adding ingredients like herbs, cheese, or nuts to create unique flavors.
Conclusion
Baking sourdough at home is a rewarding experience that combines art and science. With a little patience and practice, you can create delicious loaves that will impress your family and friends. Remember, every baker has their own unique style, so don’t hesitate to experiment and make this process your own. Happy baking!

Comments